Start Successfully Inspecting Solar PV Systems with Thermal Imaging Drones
This is the second part of the two-part series on the most effective and efficient ways to inspect a solar PV system with a thermal imaging UAV (drone) also equipped with a high-definition visual (RGB) camera. Read part one of the series here.
This article presents detailed information about technical requirements and best practices that you must follow to correctly inspect a solar PV system and obtain aerial inspection data (site imagery) to the highest standard. This is necessary for correct analysis and accurate and detailed inspection deliverables and reports. The following paragraphs will break down the correct inspection practices, and a post-inspection checklist created using best-practices from drone pilots with 100s of successful aerial PV inspections.
Best Practices to Follow During a Solar PV Aerial Inspection
Ground Sample Distance and Flight Altitude
Upon arriving onsite at the solar PV system, pilots should follow their standard pre-inspection checklist and review all hardware thoroughly to confirm it meets operating conditions. Before beginning the first flight of the inspection, pilots should re-confirm all flight specs are set up correctly in their flight planning software, there are sufficient levels of irradiance (600 watts/meter²) and that the right GSD (ground sample distance) and overlaps are set correctly for the solar inspection. GSD and overlap details can be found here. The GSD, or required image resolution for this inspection, is determined by the inspection level and deliverable requirements from the end-user/client. Many times pilots inform us that they are unsure of the level of inspection due to unclear requirements from the client. GSD specifies the level of detail of the inspection, a lower GSD equates to more detailed imagery, and in turn higher quality data. The level of inspection is predetermined and establishes the required altitude and GSD for the solar PV inspection. Read an article about GSD here.
Angling the Gimbal to Avoid Glare
After determining the correct GSD and altitude and confirming the irradiance levels, the pilot needs to adjust the thermal and HD visual imaging camera gimbal to prevent glare reflecting off of the solar panels and back into the camera, ruining the data. The gimbal also needs to be adjusted/rotated to capture data at the right angle and orientation to the solar rows. In addition, if the solar PV system is on trackers, the camera gimbal should be continually adjusted to be at the correct angle for data capture. Depending on the amount of time it takes to complete the inspection, the trackers could move several times as they follow the sun’s movement, and the gimbal of the drone should be adjusted regularly for this. Solar farms requiring less than an hour or two of inspecting, smaller than 10 MW, will only require you to set the gimbal in the beginning. Larger solar farms that require an entire day on-site to complete the inspection, sites as large as 30 or 50MW, will require several adjustments to the gimbal. When inspecting PV systems that are fixed-tilt ground mount, the gimbal will only need to be initially adjusted for glare and angle of the solar modules.

It’s important to constantly monitor the site while performing the inspection and pilots need to confirm the solar PV system is operating and producing energy during the entire inspection. If the site stops working and the inspection data will show nothing and be useless, requiring the site to need to be reflown when it is operating correctly.
Backup Batteries
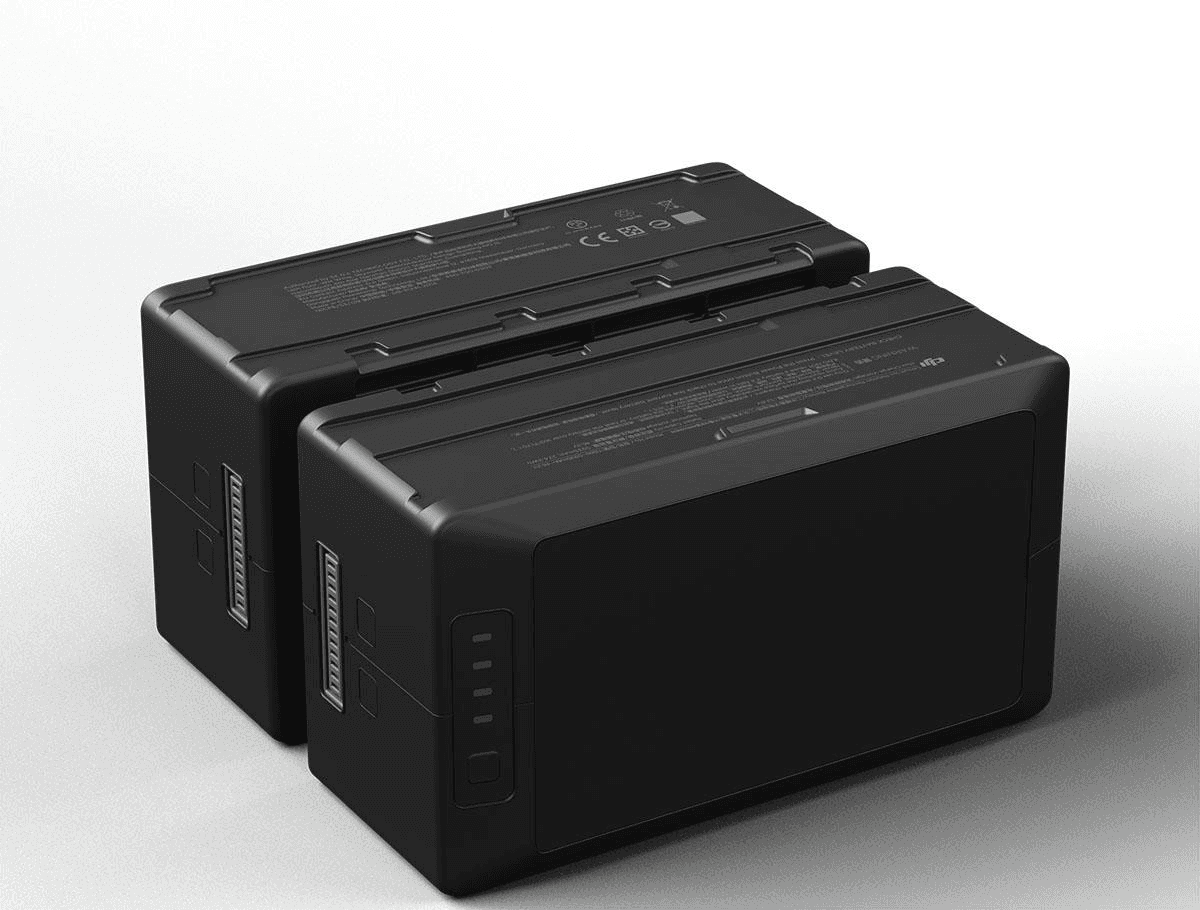
One highly valuable practice that drone pilots inspecting solar farms larger than 1 or 2MW should follow is having multiple fully charged batteries and a battery charger with them, that can charge several batteries at once. Due to the size of some solar PV systems, it can require multiple battery changes to complete the inspection, and drone batteries run out of energy much faster than they charge. Following this, pilots should check the data quality during battery changes and remove the SD card that was just used on that mission and inserting a new SD card between each mission. In addition to checking the data, battery changes provide pilots an opportune time to reconfirm that irradiance levels haven’t decreased. Read about what correct data is in our Knowledge Hub. By regularly checking inspection data, pilots reduce the risk of needing to refly due to equipment malfunctions or data corruption, after already leaving the site. Images should constantly be backed up on a computer while in the field as well. There have been 100s of instances where the camera stops taking images partway through the inspection, and without checking the data in the field the pilot would need to figure out what area of the farm to refly after completing the inspection.

Metadata and Avoiding Obstructions
When checking the data, pilots should ensure that the metadata is being correctly collected. The metadata must contain GPS location, relative altitude, gimbal pitch/yaw/roll, and a timestamp in each image captured during the solar inspection. Metadata is necessary for post-processing and to keep detailed records of the PV system condition and compare the change in site condition over time.
In addition, pilots should be wary of trees, buildings, and other obstructions throughout the duration of the flight. As well as high gusts of winds that could potentially blow the drone off course and into something. This will avoid any damages to the PV system, drone, other obstructions, and injuries. This will require the pilots to be attentive to the drone mid-flight, as well as the flight path that has been set. The possibility of unnecessary costs and insurance claims can be removed by remaining aware of the surroundings throughout the flight.
Post-inspection Checklist for Data-Processing Success
Before leaving the solar PV system that was just inspected, pilots should follow the listed best practices to ensure the captured data will be uploaded to the data-processing software platform quickly and successfully. Pilots need to perform a final data quality check before packing up and leaving the site to confirm all inspection data was collected correctly. Once completed, pilots may begin uploading the data into the Raptor Maps cloud-based platform using the uploader. When uploading data, clearly label all of the folders. The clearest way to label the data is “Site Name – Data Type (IR or RGB) – Mission Number – Inspection Date”. If pilots capture data with the FLIR XT2, XT1, or Duo Pro 2 it is best to upload the data in one image folder. This is because these cameras take simultaneous IR/RGB imagery and the data will be uploaded chronologically. If the camera does not capture RGB and IR imagery in chronological order, the two image types should be separated into individual folders for uploading. Any orthomosaic or oblique imagery should be separated into their own folders and uploaded individually. When uploading data to a cloud-based data-processing solution like Raptor Maps, it is best to limit uploading to no more than 1000 images at a time. Internet speeds can make uploading more images than this challenging. In addition to this, if the connection fails during the uploading process, the images won’t be uploaded and you will need to start over. Data sets of this size should be uploaded in batches. Each batch should be named the same, with the only difference being the batch number, for example, “Asset Owner’s Name – Site Name – Data Type – Date – Image set 2”.
Start Aerial Thermography Inspections Today
Aerial thermography enables asset owners, asset managers, O&M teams, engineering firms, and EPCs to quickly, cost-effectively, and accurately gather data on the operating condition of a PV system. Aerial solar inspections are able to provide 95+% accuracy on sub-module anomaly detection and drastically increase visibility into a PV system. These inspections are also an effective way to catch systemic issues related to warranty claims. Using Raptor Maps for data analysis and deliverables, teams receive accurate and actionable reports that enable targeted and efficient site remediation plans. Also, all PV system inspection data and reports are stored in a centralized location, and creates a robust historical record of site condition over time.
Contact us today to learn more about the Raptor Maps software platform and the importance of aerial thermography and data analytics.
Next steps
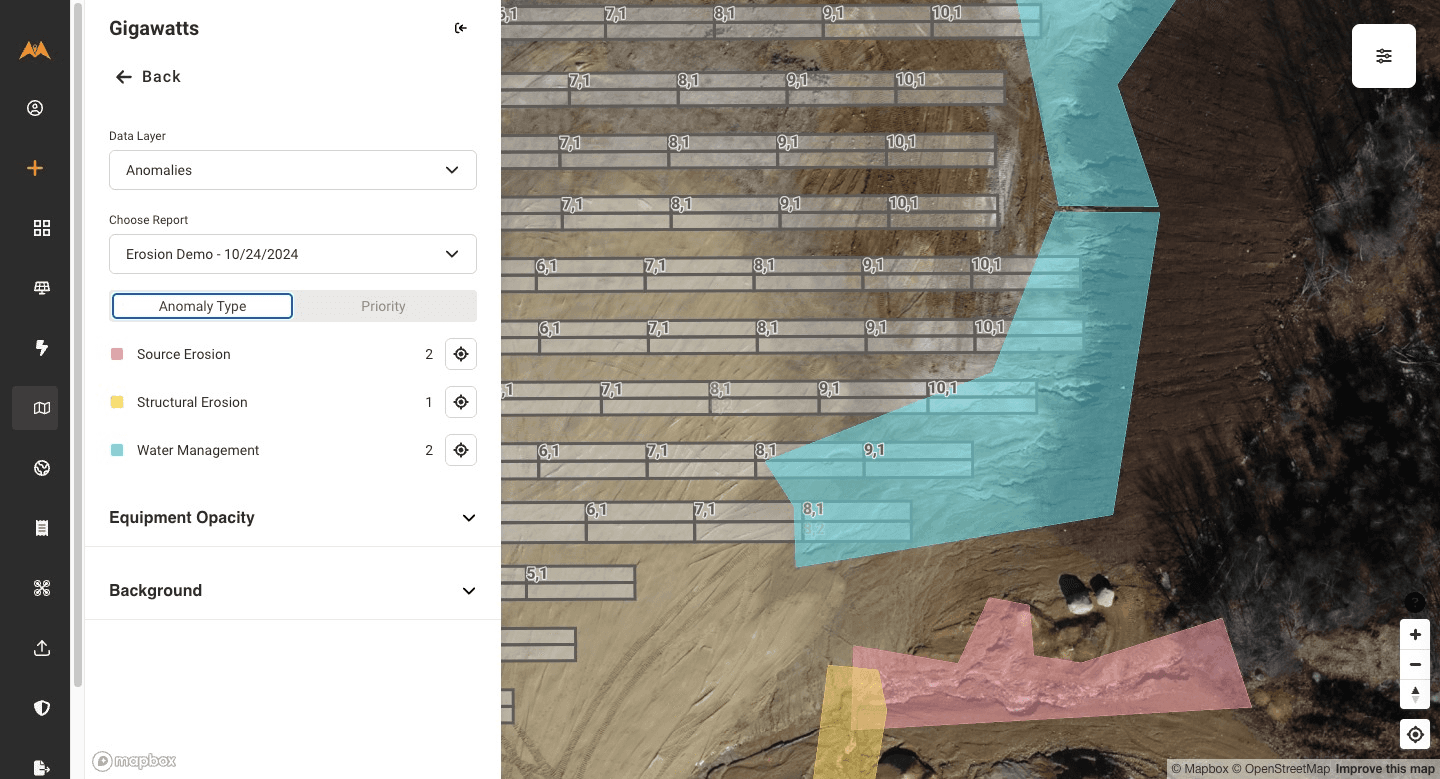
From the civil engineering on your site down to the wiring on the back of your panels, the Raptor Solar platform provides you detailed, up-to-date data on the conditions and performance of your solar fleet so that your team has the intel they need to do their jobs effectively, quickly, and safely.


