/
Aerial Thermography Ops — Manned Aircraft
/
Camera Setup for Manned Aircraft Solar Inspections
External vs. Internal Attachment
⚠️ Any external attachment of a camera is considered a modification or alteration of the aircraft and must be reviewed by an airframe and/or powerplant (A&P) mechanic. If the weight, balance, structural strength, performance, power plant operation or flight characteristics are unaffected, the A&P mechanic can sign off on the logbook.The camera setups used for manned aircraft inspection of solar PV systems are bulky and heavy when compared to small action cameras (e.g., GoPro). These modifications require FAA approval via FAA form 337 “Major Repair and Alteration.”For this reason, temporary setups, such as internal mounting are most commonly used. Although vendors that own and operate their own aircraft often improve the mounting system and file form 337.

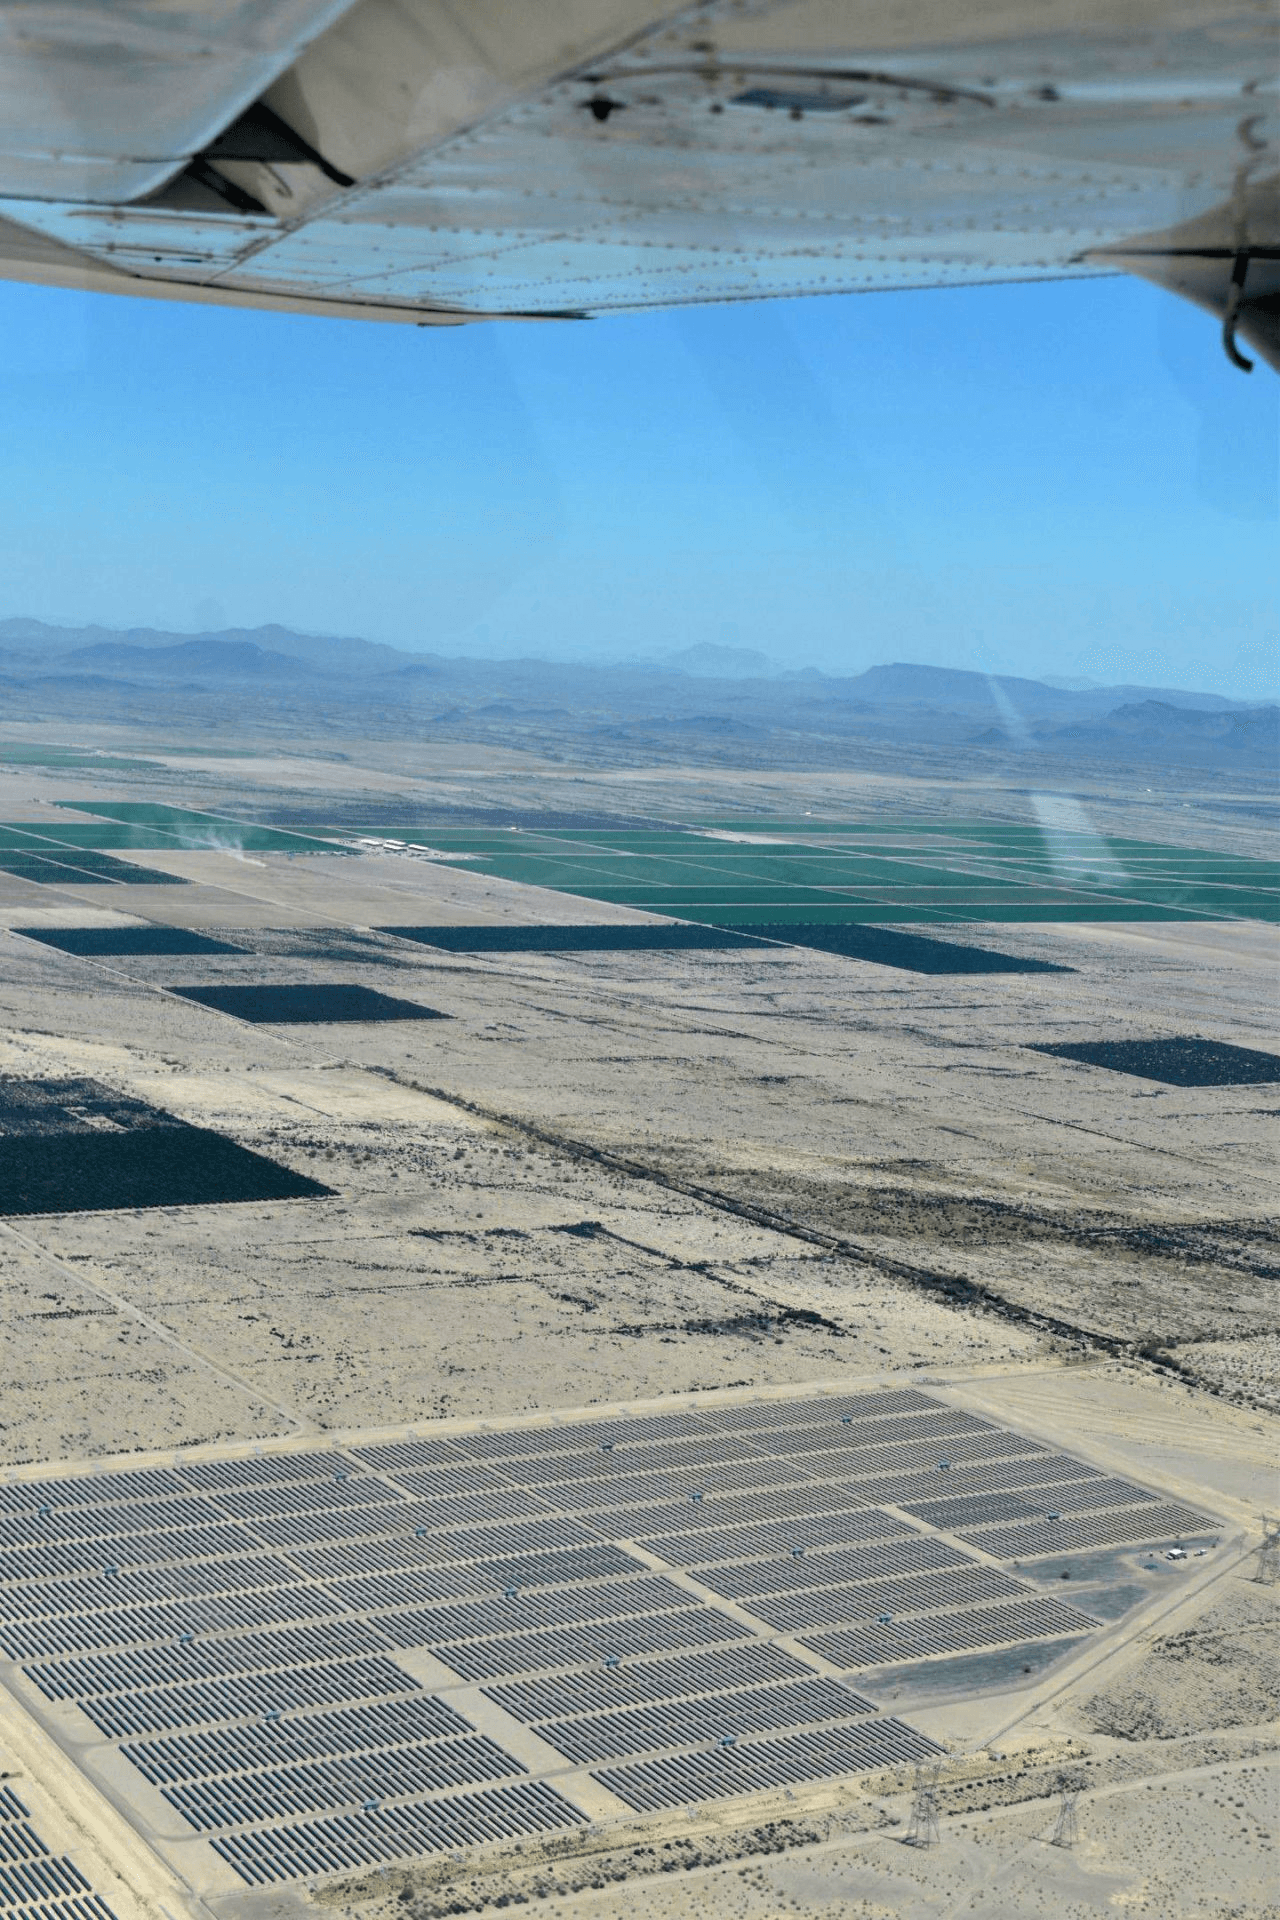
PV system visibility underneath a high-wing, such as the Cessna 172 and 182.
Mounting in Fixed-Wing Aircraft
Cessna 172 Skyhawk
In a Cessna 172, the camera should be pointed downward, out the window, and angled between the wing spar and the wheel. The camera should be vertical (nadir) as possible. The angle of the camera relative to nadir should be carefully measured. This can be accomplished by placing a pattern of known size in the center of the field of view, and measuring the distance to the midline of the aircraft. Other methods, such as utilization of an inclinometer, are also acceptable.
Cessna 182 Skylane Considerations
In a Cessna 182, the front right seat does not require removal. It can instead be slid up to accommodate the camera.

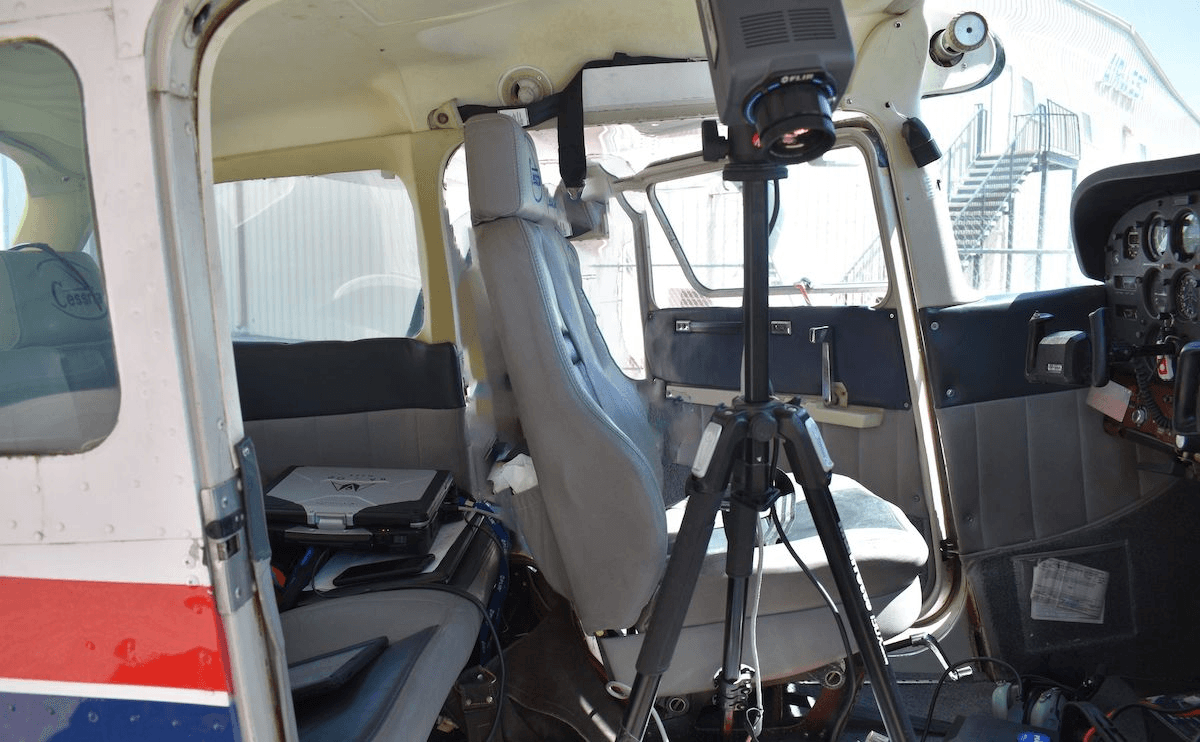
FLIR infrared camera mounted to tripod in cabin. Must be secured by multiple ratchet straps of equivalent.
Need for Professional-Grade Tripod
⚠️ A mounted camera body can weigh up to 5 pounds, and the lens will bring the total weight over 10 pounds. It will attach to a standard tripod shoe with 1/4-20 threads, but a sturdy, professional-grade tripod must be used. The camera is heavier than a typical SLR camera and the aircraft maneuvering will generate forces in all directions.
Imaging through Windows & Glass
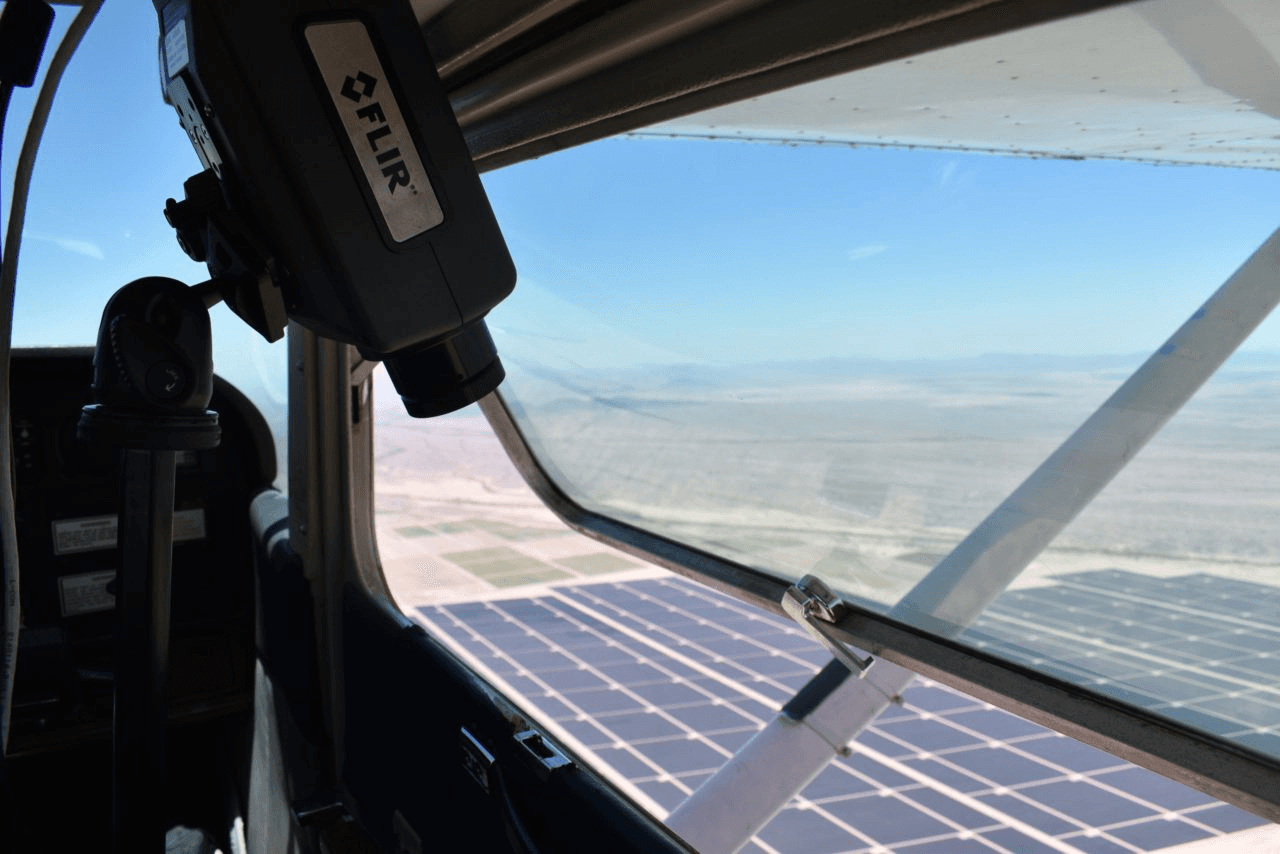
LWIR and MWIR frequencies cannot penetrate windows in aircraft. So windows must be open for proper PV system imaging. It is at the discretion of the pilot and data capture specialist whether to open the window at each PV system or leave the window open for the duration of the flight. This is not an issue for externally-mounted gimbals, which have a Germanium lens cover that is transparent to LWIR and MWIR. Owners of manned aircraft may consider installing a port through the bottom of the aircraft which could be opened for PV system inspections.

Open window on Cessna 172 with thermal camera pointing downward.
Power Sources
Most cameras have an inverter block, which converts AC current from a wall outlet to DC current. Aircraft batteries and external batteries that can power your setup are already DC. However, it is not recommended to bypass the AC/DC inverter and directly connect DC current from a battery to your imaging setup. The equipment is sensitive to small fluctuations in voltage, and “clean” power is required. The efficiency gains from eliminating two conversions (DC to AC, and AC back to DC) do not outweigh the risk to the equipment. It is recommended instead that you carry extra battery capacity.
⚠️ Ensure that you are following FAA guidelines with regards to battery power. Some vendors have unfortunately tried using lead acid car and marine batteries in the cockpit to power imaging setups. The preferred alternative, if you own or lease the aircraft, is to power your setup directly from the aircraft. Make sure you are utilizing a qualified aviation electrician.