Generate API token in Skydio
Open Skydio Cloud
Generate an API token with read access. Details from Skydio here.
Upload Skydio imagery to Raptor Maps
Log in to Raptor Maps
Navigate to the Orders page
Copy the <Data upload link> and paste into your browser
Select <From Cloud>
Log in using your Raptor Maps credentials if not already logged in
Input the Skydio API token
Import images from a Scan, Mission Run, or Flight. Select one of the three in the dropdown
Input the ID of the Scan, Mission Run, or Flight. Details on where to find each of these ID’s below.
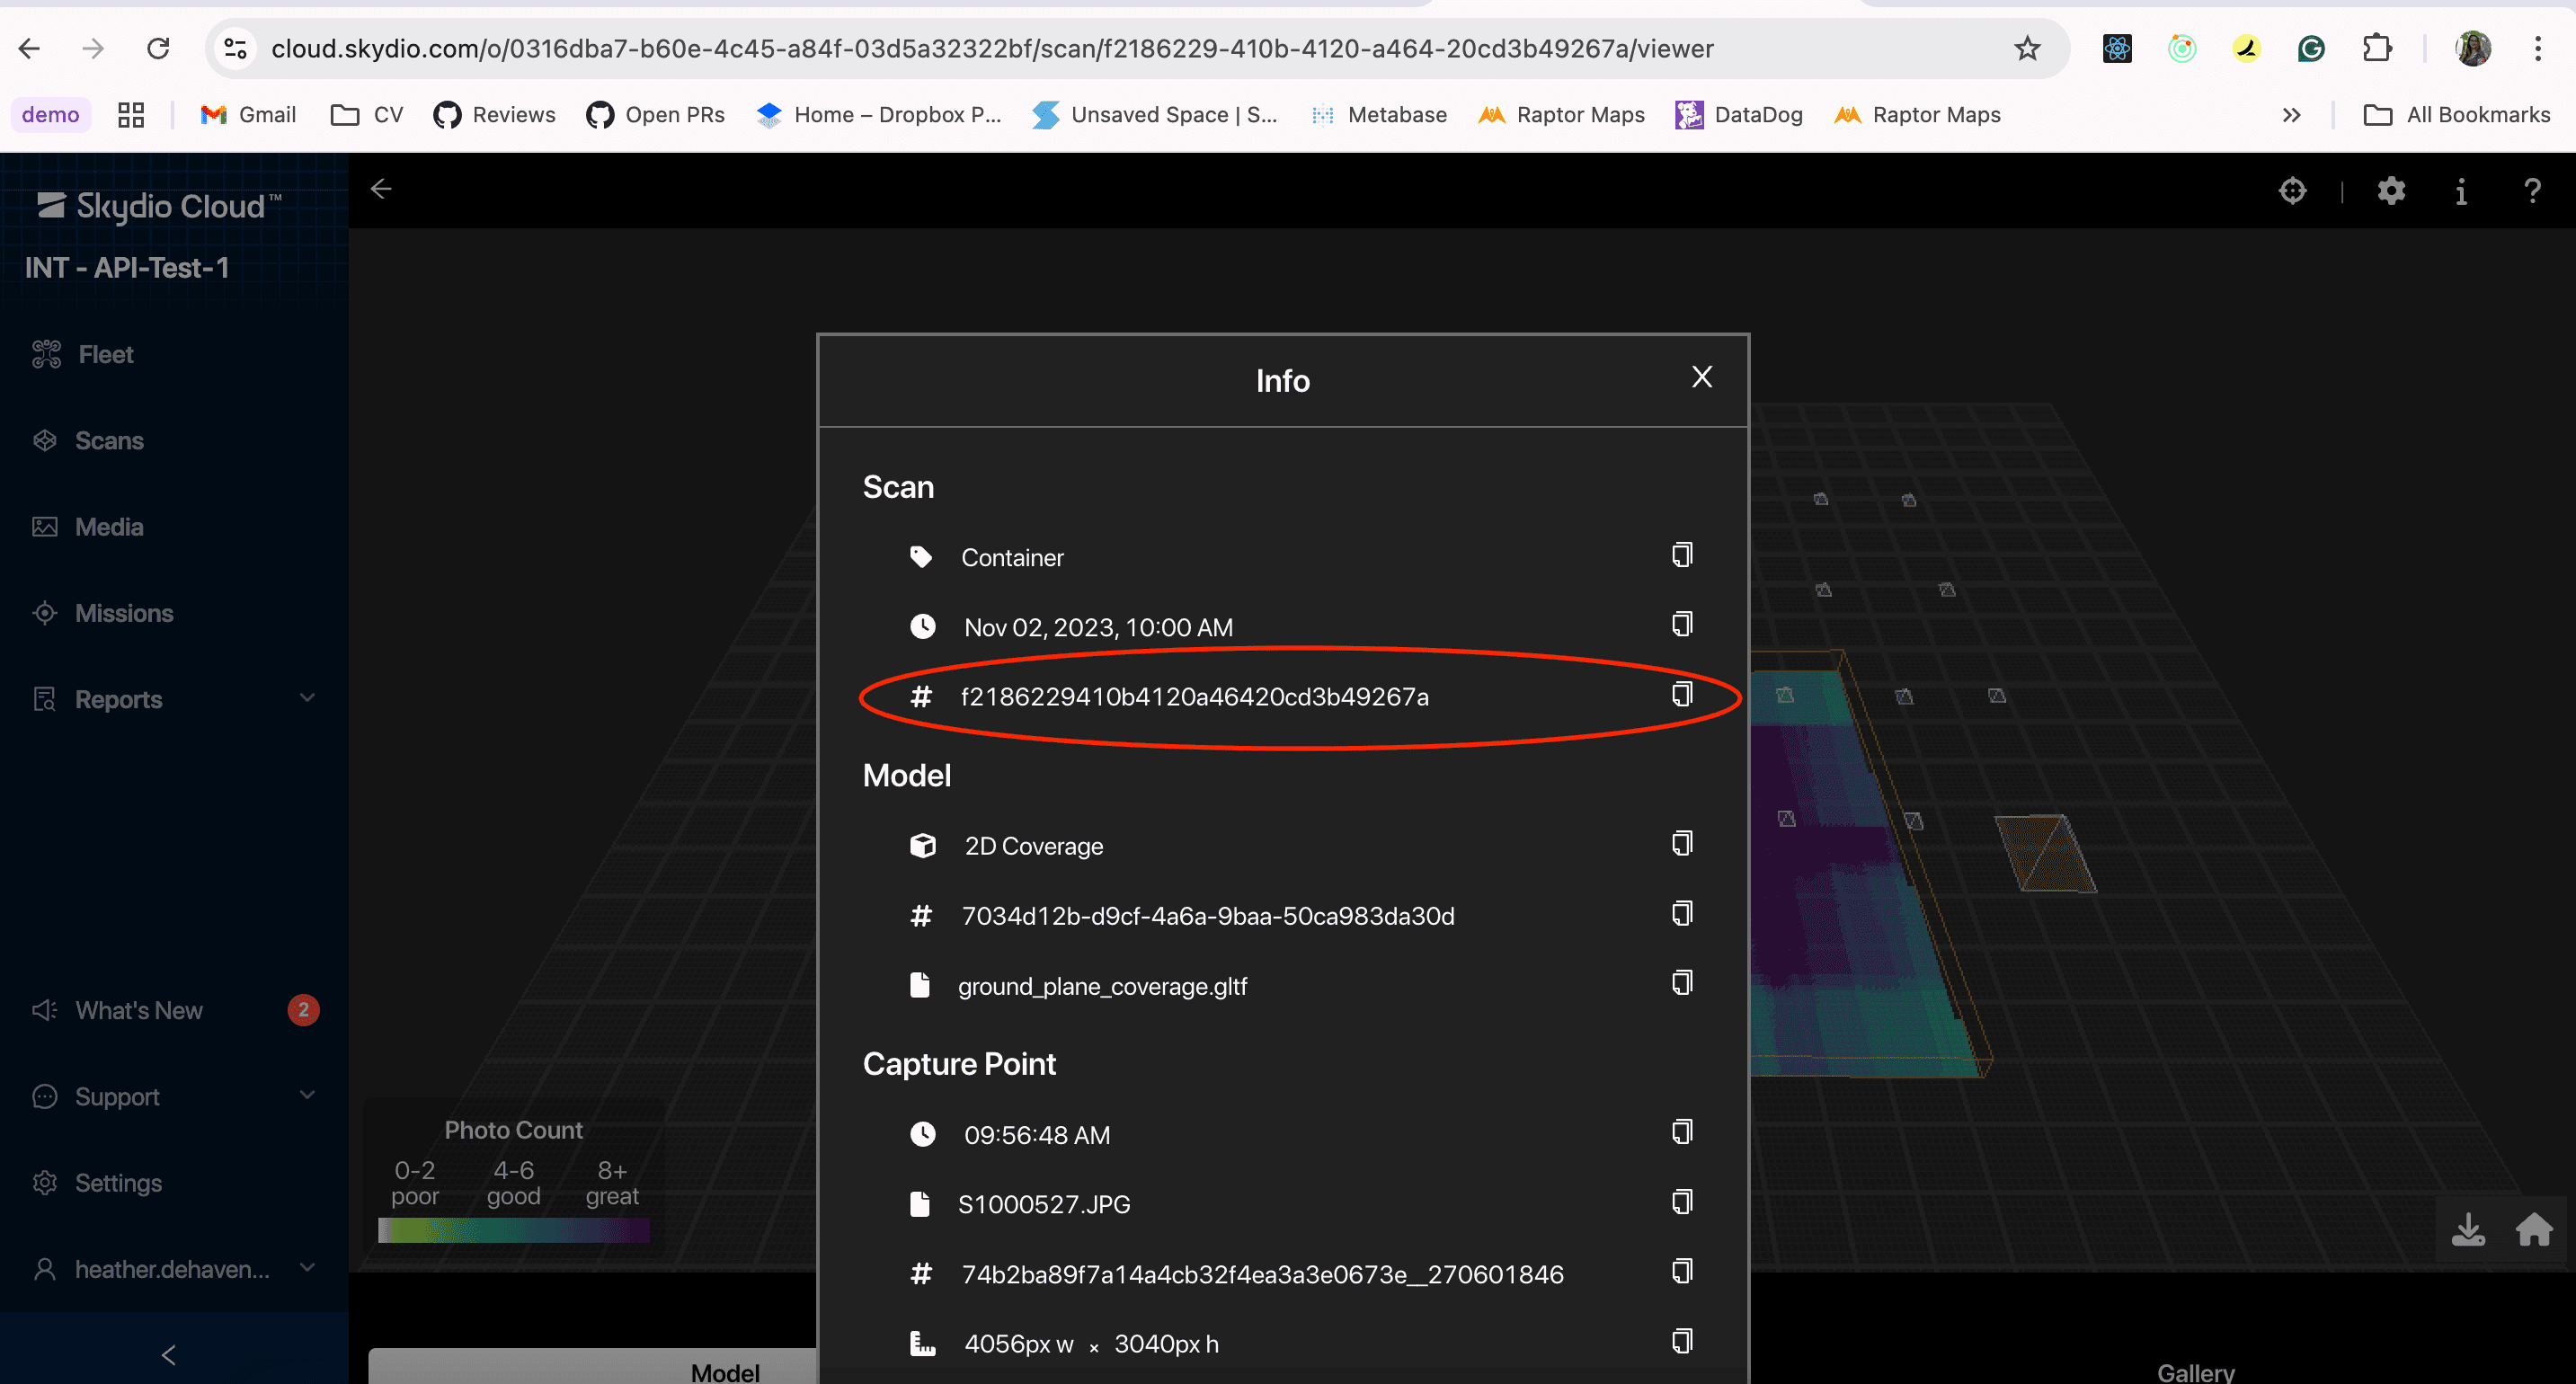
Scan: Scan ID can be found in the information panel of a scan in Skydio Cloud.
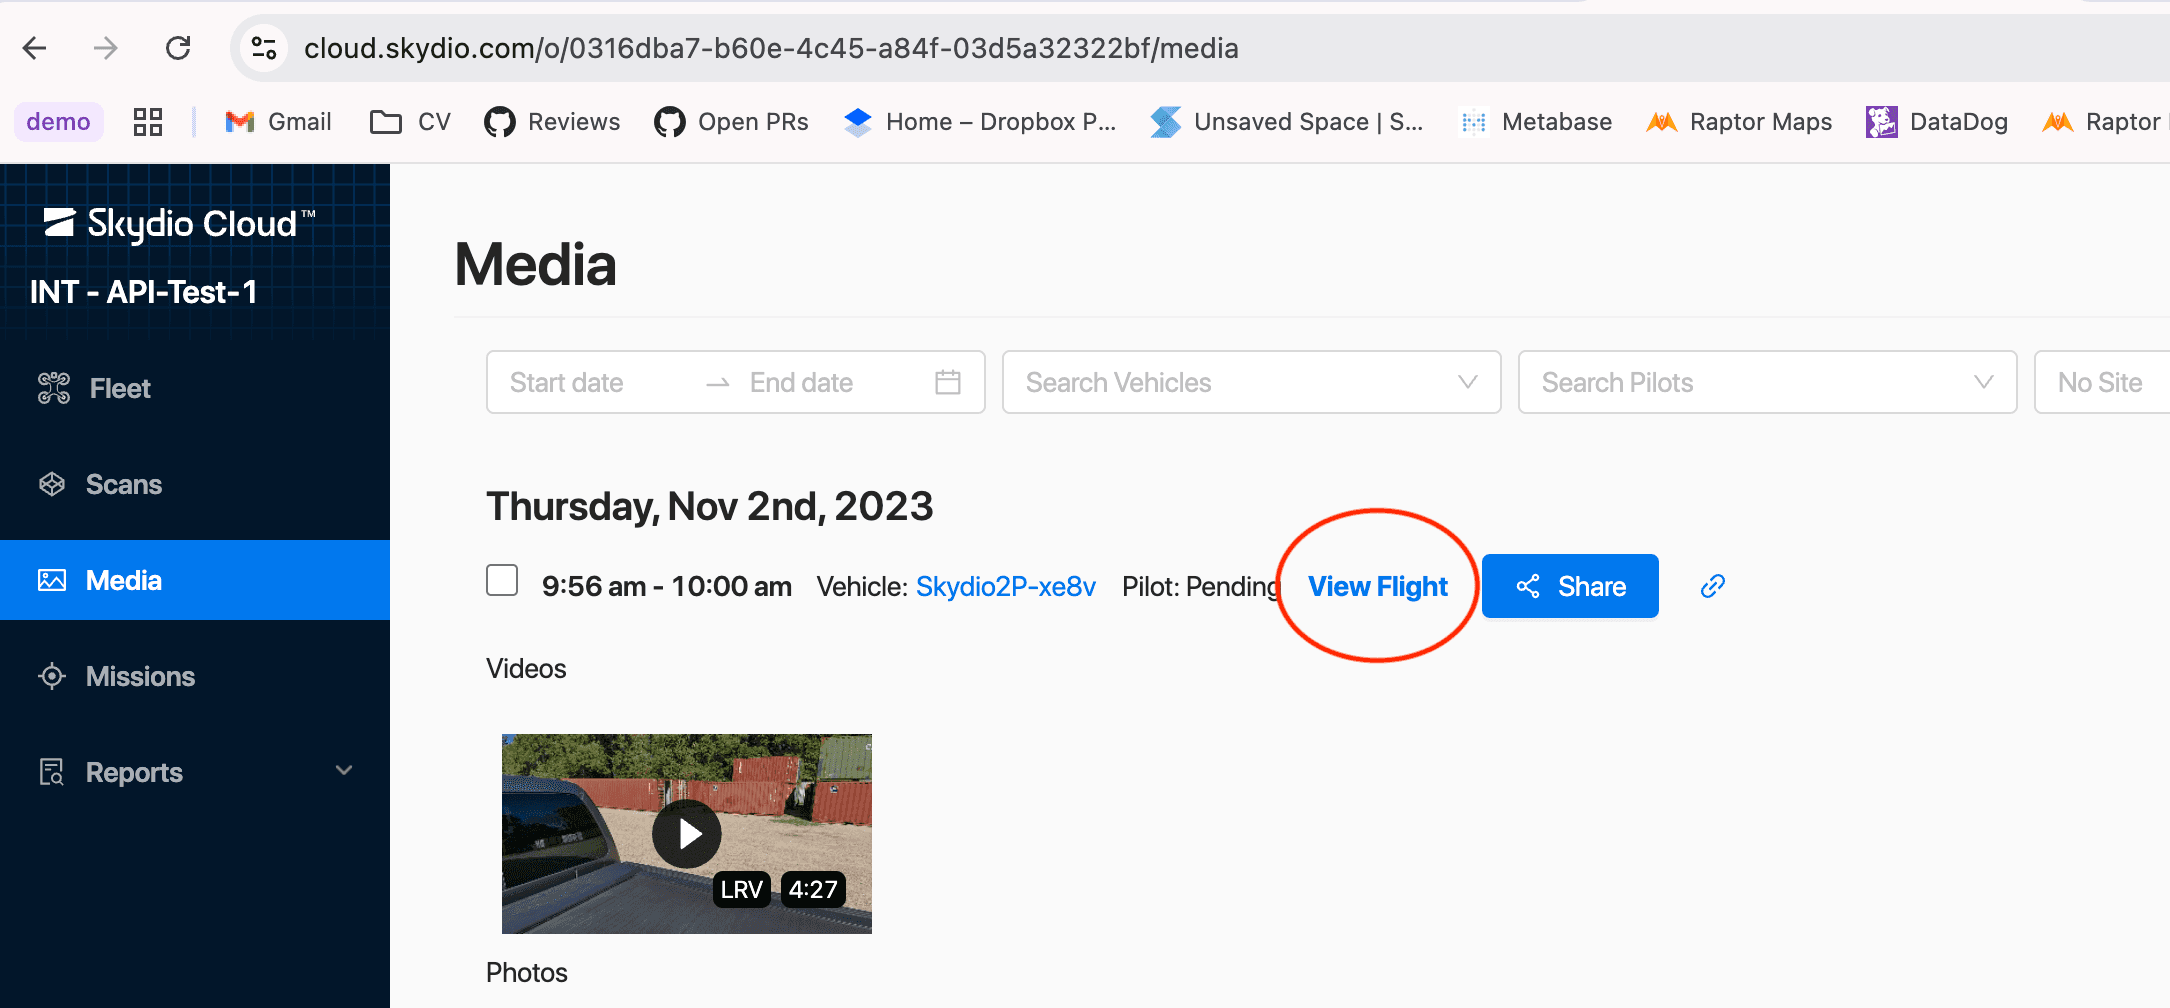
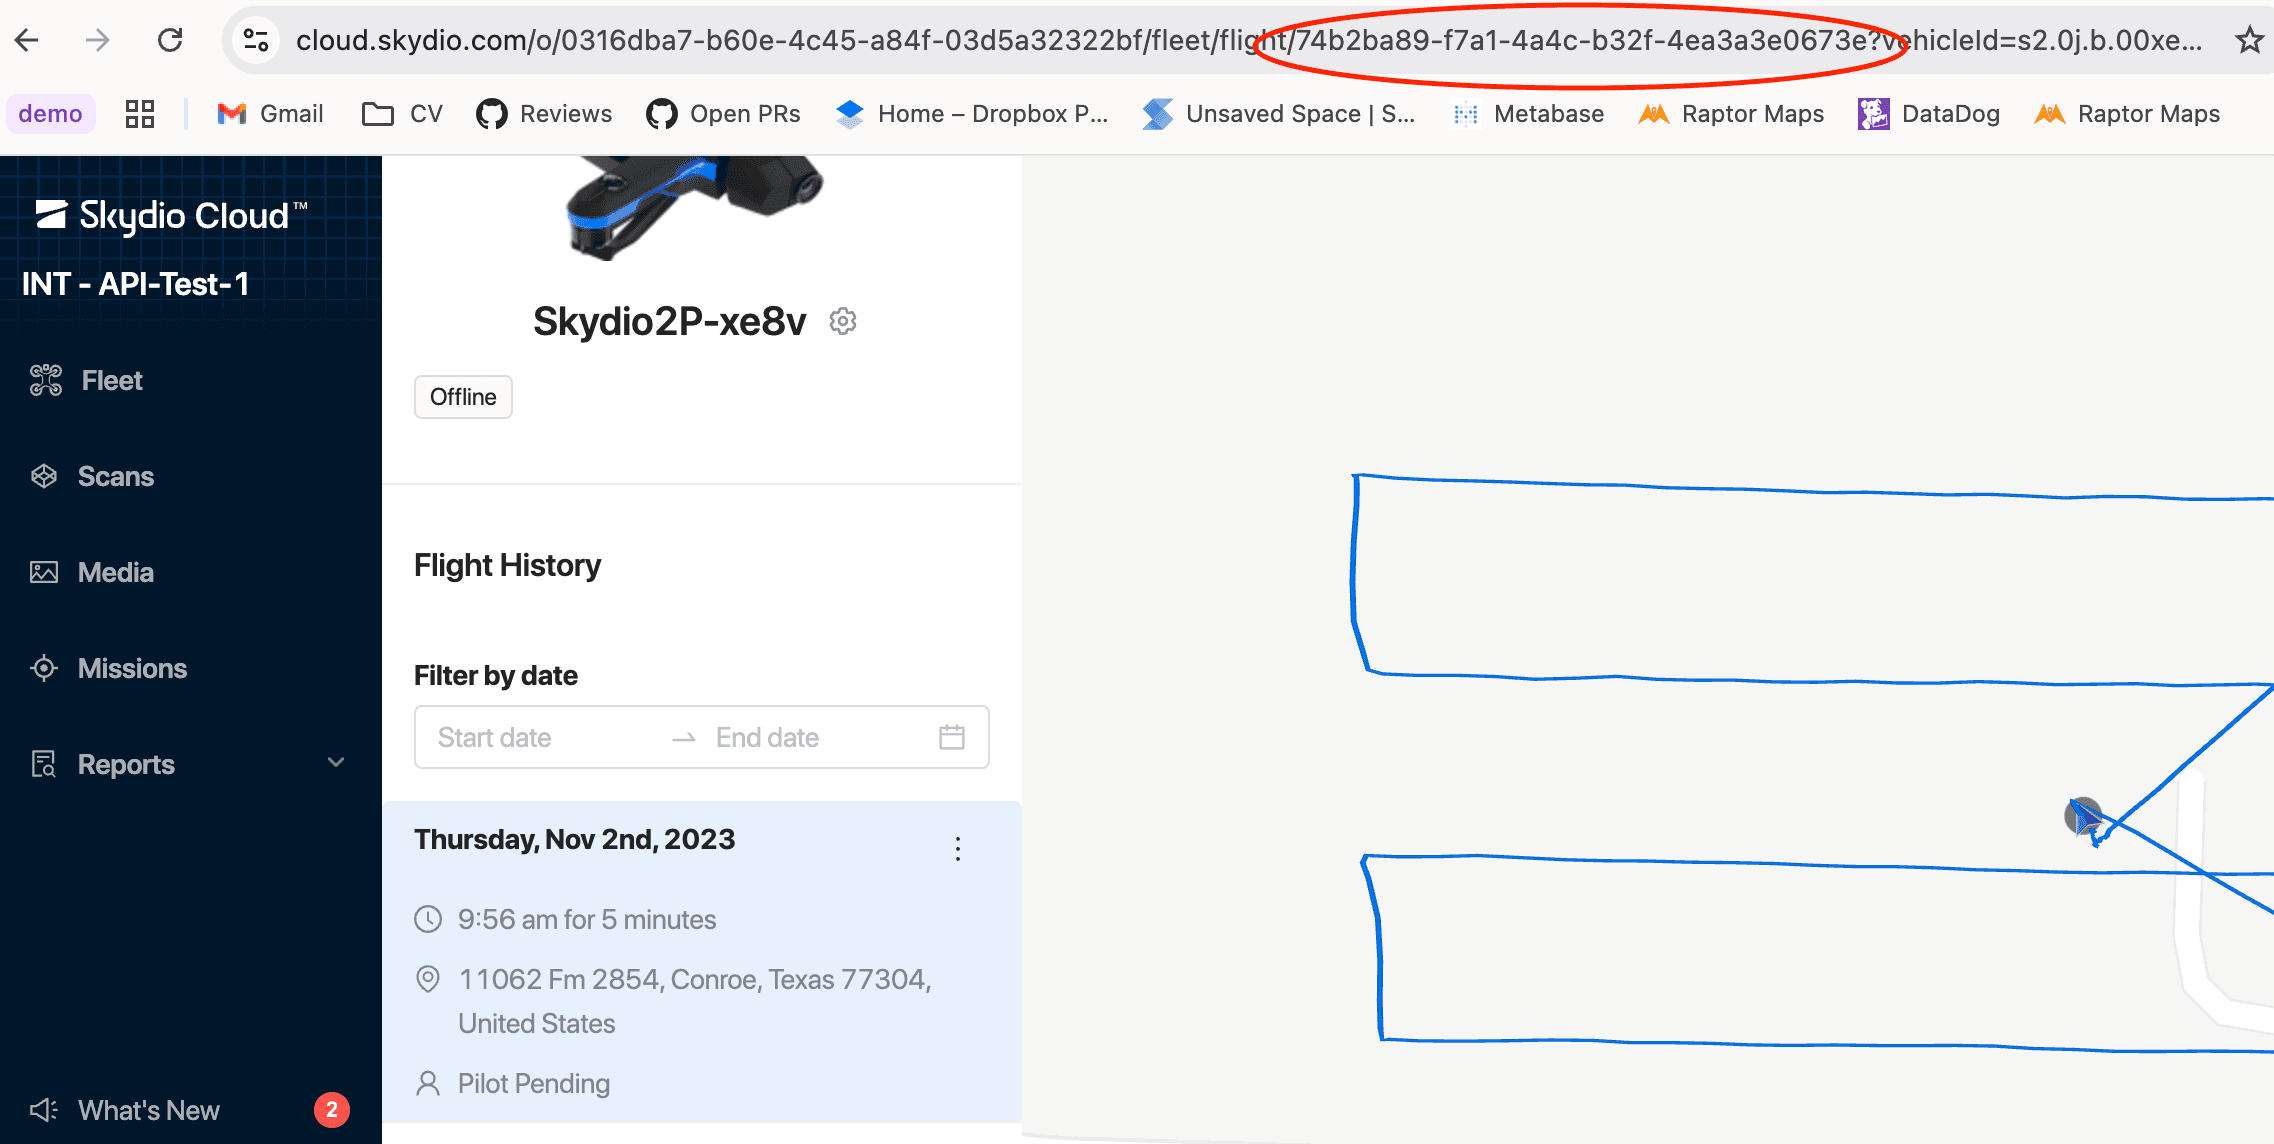
Flight: The Flight ID can be found in the URL when viewing a flight in Skydio. Copy the numbers from the URL after /flight/.
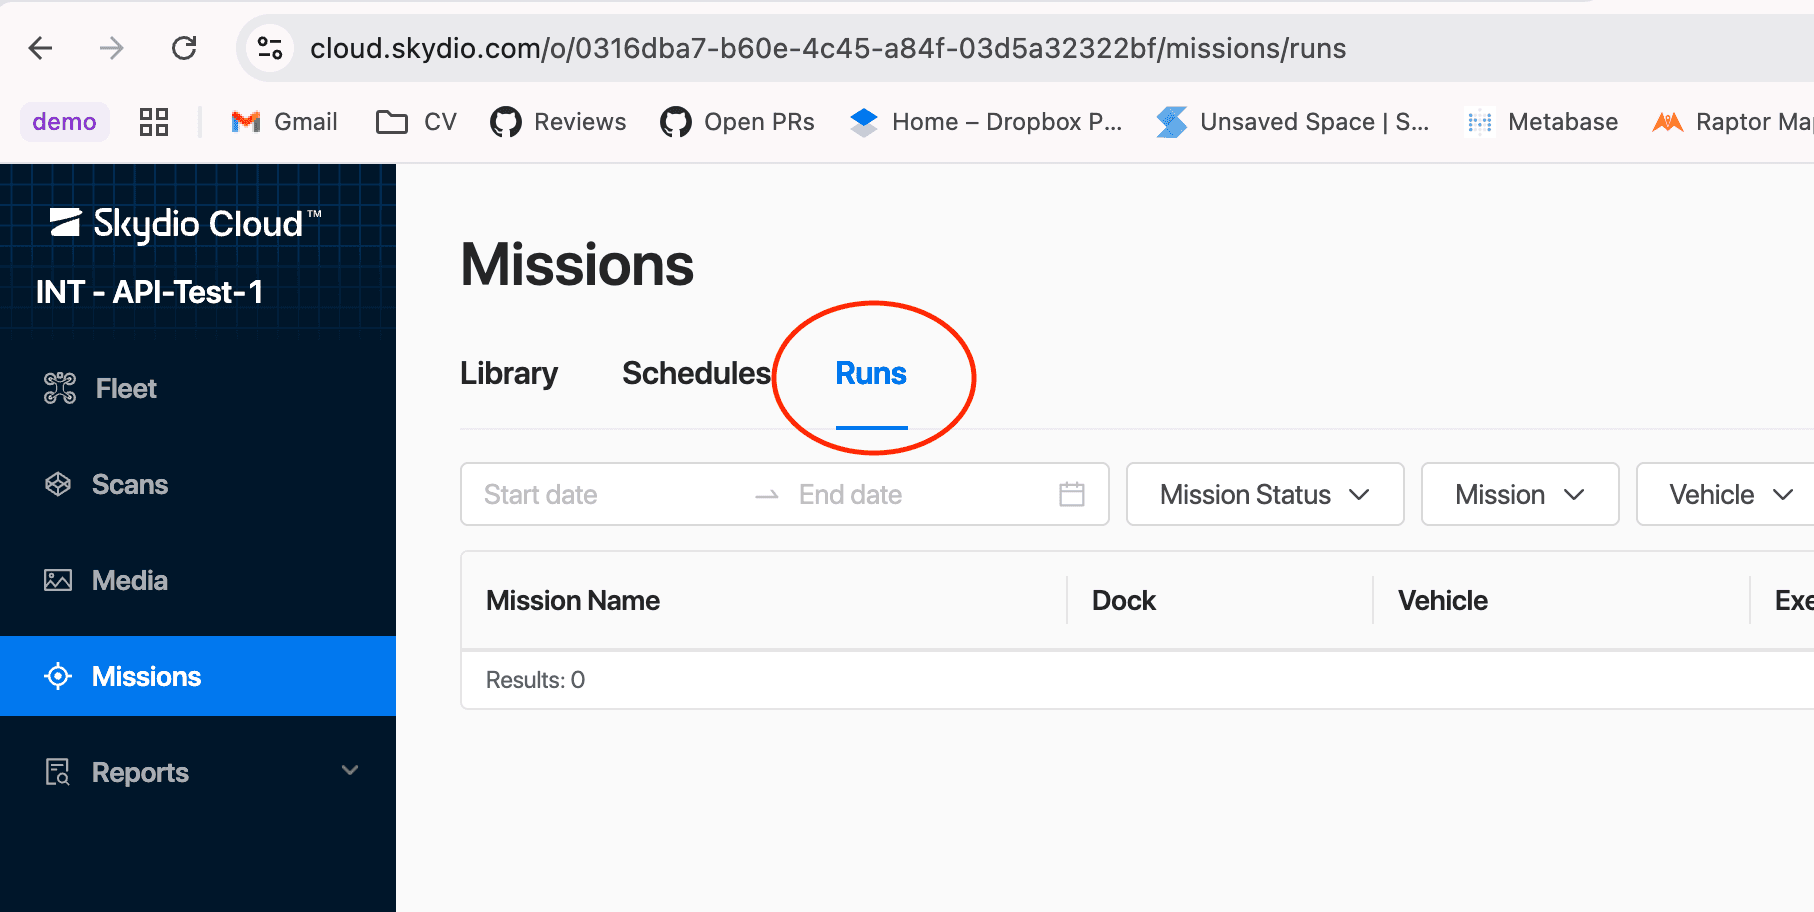
Mission Run: Mission Run ID can be found by navigating to Missions and then selecting Runs.
Click <Import Images>
If the Scan, Mission Run, or Flight doesn’t contain any images attributed to that ID, a message saying “There are no images to import” is visible.
Otherwise, there is a loading indicator while the service imports and ingests the images.
Once completed, the upload session will be visible. You can now select and view the images!
Video
Confirming Image Uploads
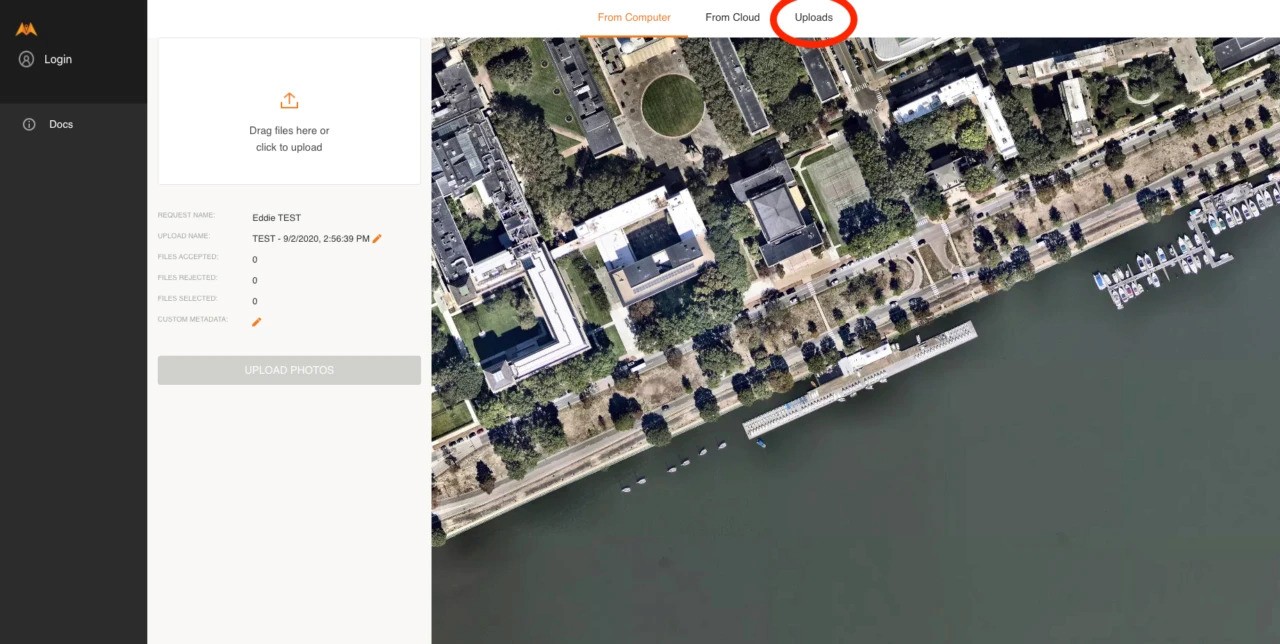
Upload Sessions attached to Upload Requests can be viewed through the Upload Request link. This will allow you to check data were uploaded to any specific Upload Request link. Open your upload link, and select Uploads:
All data that has already been submitted through the upload link will appear here:
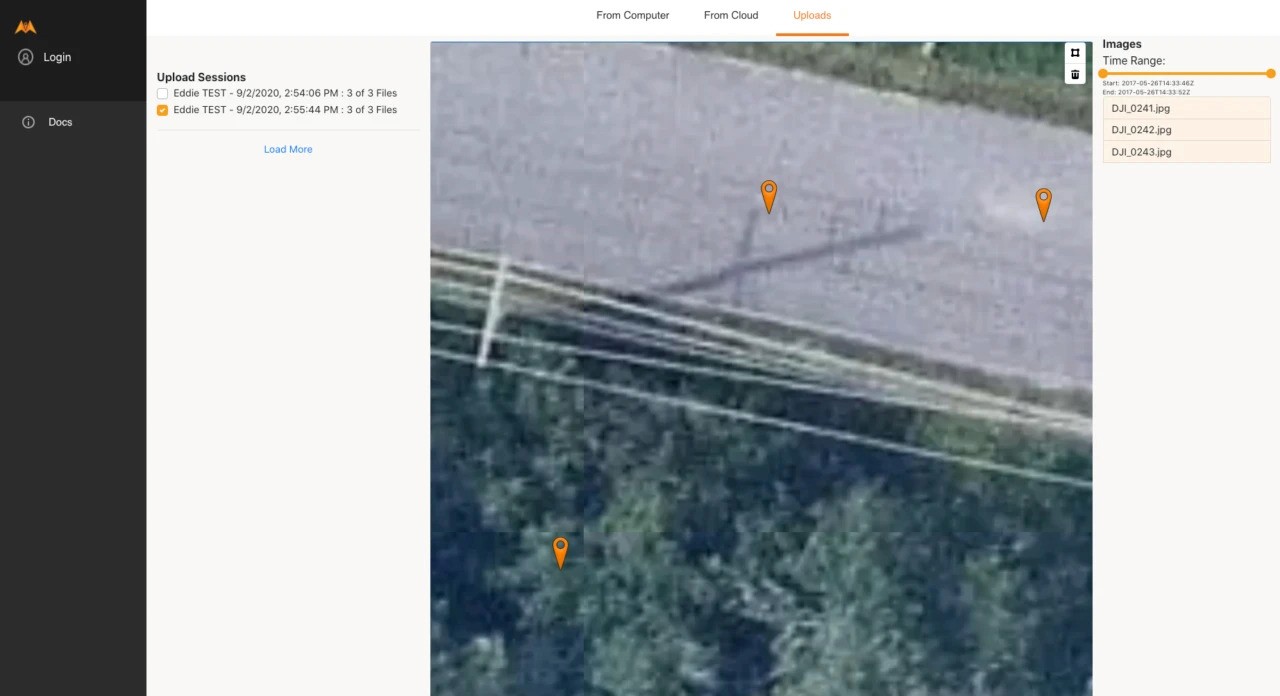
Please confirm all images for the session have been uploaded. It should say (for example) 999 of 999 images uploaded, or the number of images uploaded in your session. If it says (for example) 717 of 999, the upload has stalled and needs to be re-uploaded.